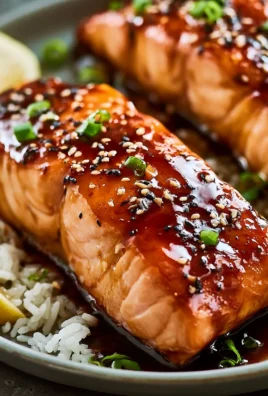
Baked Teriyaki Salmon is my go-to for a quick, satisfying weeknight meal. This dish features tender salmon fillets coated in a rich, homemade teriyaki sauce, then baked until perfectly flaky and slightly caramelized. It’s incredibly easy to prepare; just a few minutes of marinating and then the oven handles the rest, freeing you up for other tasks. The balance of savory soy, sweet mirin, and sharp ginger in the sauce perfectly complements the natural richness of the fish. I find this Baked Teriyaki Salmon recipe consistently delivers on flavor and texture with minimal effort. Serve it simply with a side of steamed white rice and a sprinkle of sesame seeds for a complete meal.

Why You’ll Love This Recipe
You’ll love how incredibly easy it is to achieve restaurant-quality flavor right in your own kitchen with minimal effort. This dish delivers a perfect balance of savory and sweet, making it a healthy and satisfying weeknight meal that’s sure to become a family favorite.
Practical tips and tricks for best results
Pat Salmon Dry: Always pat your salmon fillets thoroughly dry with paper towels. This helps the teriyaki glaze adhere better and prevents the salmon from steaming, promoting a more delicious texture and crispier skin if desired.
Preheat Oven: Ensure your oven is fully preheated to the specified temperature. This guarantees even cooking from the moment the salmon goes in.
Broil for Caramelization: For a beautifully caramelized and slightly crisp finish on your glaze, consider a quick broil for the last 2-3 minutes of cooking. Watch it closely, as glazes can burn quickly under the broiler.
Resting Time: Allow your baked salmon to rest for 5 minutes after removing it from the oven. This helps the juices redistribute, resulting in a more tender and moist fillet.
Common mistakes to avoid
Overcooking: This is the most frequent mistake. Salmon cooks quickly; overcooked salmon turns dry and tough. Start checking for doneness a few minutes before the suggested time. It should flake easily with a fork but still be moist.
Not Patting Dry: Neglecting to pat the salmon dry can lead to a watery glaze and a steamed texture rather than a beautifully baked one.
Burning the Glaze: If you choose to broil, never walk away. Teriyaki glazes contain sugar, which caramelizes quickly but can also burn very fast, leading to a bitter taste.
Ingredient substitutions or variations
- Salmon Fillets: While I typically use skin-on salmon, skinless works too. Sockeye or Coho are excellent alternatives. Adjust cooking time for thicker or thinner cuts.
- Soy Sauce: Use tamari for a gluten-free option or low-sodium soy sauce for reduced sodium. Coconut aminos offer a soy-free alternative.
- Sweetener: Brown sugar provides depth, but you can swap it for honey, maple syrup, or a sugar substitute.
- Mirin/Rice Vinegar: If no mirin, use extra rice vinegar with a pinch of sugar. White wine vinegar can substitute for acidity.
- Ginger/Garlic: Fresh is best, but 1/2 teaspoon of powder can substitute for 1 tablespoon of fresh grated.
- Spice: Add a dash of sriracha or red pepper flakes to the glaze for heat.
Serving suggestions
Baked teriyaki salmon pairs wonderfully with:
- Rice: Steamed white, brown, or cauliflower rice to soak up the delicious glaze.
- Roasted Vegetables: Asparagus, broccoli, or green beans, which can even roast on the same pan.
- Fresh Salad: A crisp side salad with a light vinaigrette for refreshing contrast.
- Garnishes: Toasted sesame seeds and thinly sliced green onions for crunch and fresh flavor.
Storage and make-ahead tips
- Storage: Store leftover baked teriyaki salmon in an airtight container in the refrigerator for up to 3 days.
- Reheating: Gently warm in the microwave on a lower power setting or in a 275°F (135°C) oven until just warmed through to prevent drying.
- Make-Ahead Glaze: Prepare the teriyaki glaze up to a week in advance and store it in a sealed jar in the refrigerator, making dinner prep even quicker.
Final Thoughts:
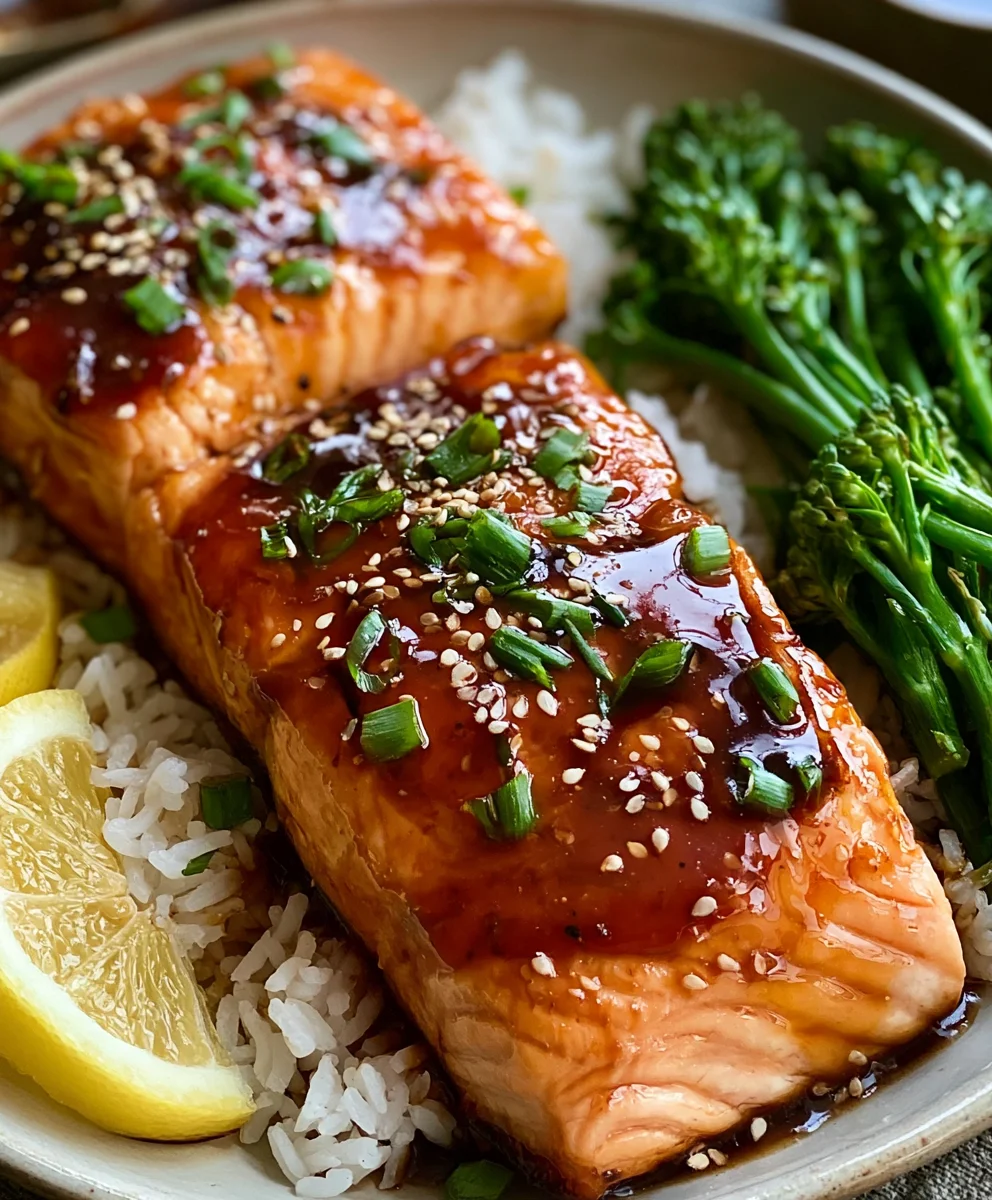
What makes this recipe truly special is how effortlessly it combines the rich, savory sweetness of teriyaki with perfectly flaky, healthy salmon, delivering incredible flavor with minimal cleanup. The simple baking method ensures a tender, juicy fillet every time, making it a foolproof choice for busy evenings. I recommend serving your delicious Baked Teriyaki Salmon alongside a bed of jasmine rice and some quick-steamed broccoli to soak up all that wonderful sauce. Leftovers? They’re fantastic flaked into a fresh salad for a quick lunch! I can’t wait for you to try this amazing dish.
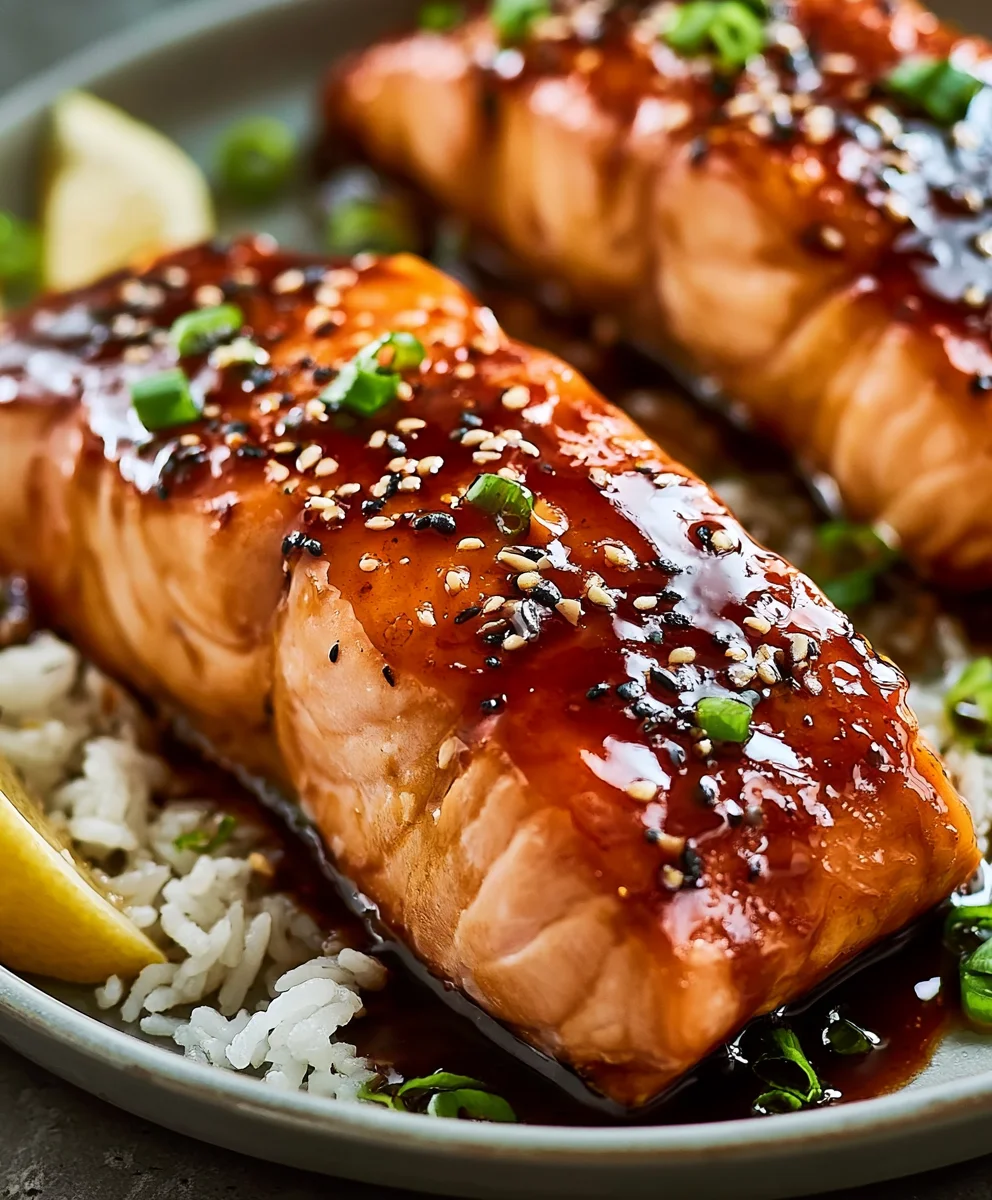
Easy Baked Teriyaki Salmon Everyone Loves: Weeknight Winner
This Baked Teriyaki Salmon recipe features tender salmon fillets coated in a rich, homemade or store-bought non-alcoholic teriyaki sauce, baked until perfectly flaky and slightly caramelized. It’s incredibly easy to prepare for a quick, satisfying weeknight meal, delivering a perfect balance of savory and sweet with minimal effort. Serve with rice and a sprinkle of sesame seeds for a complete meal.
Ingredients
-
4 (6 oz) fresh salmon fillets
-
½ cup non-alcoholic teriyaki sauce
-
2 cloves garlic, minced
-
1 tsp fresh ginger, grated
-
2 tbsp brown sugar or honey
-
1 tsp sesame oil
-
2 green onions, thinly sliced (for garnish)
-
1 tbsp sesame seeds (optional garnish)
Instructions
-
Step 1
Preheat oven to 400°F (200°C). Pat salmon fillets thoroughly dry with paper towels. -
Step 2
In a medium bowl, whisk together the non-alcoholic teriyaki sauce, minced garlic, grated ginger, brown sugar (or honey), and sesame oil to create the glaze. -
Step 3
Place salmon fillets on a baking sheet lined with parchment paper. Pour or brush the teriyaki glaze evenly over the salmon, ensuring good coverage. Marinate for 10-15 minutes at room temperature if time allows. -
Step 4
Bake for 12-18 minutes, or until the salmon is cooked through and flakes easily with a fork. Cooking time may vary based on fillet thickness. -
Step 5
For a caramelized finish, broil for the last 2-3 minutes, watching closely to prevent burning the glaze. -
Step 6
Remove from oven and let the salmon rest for 5 minutes. Garnish with thinly sliced green onions and sesame seeds before serving.
Important Information
Nutrition Facts (Per Serving)
It is important to consider this information as approximate and not to use it as definitive health advice.
Allergy Information
Please check ingredients for potential allergens and consult a health professional if in doubt.